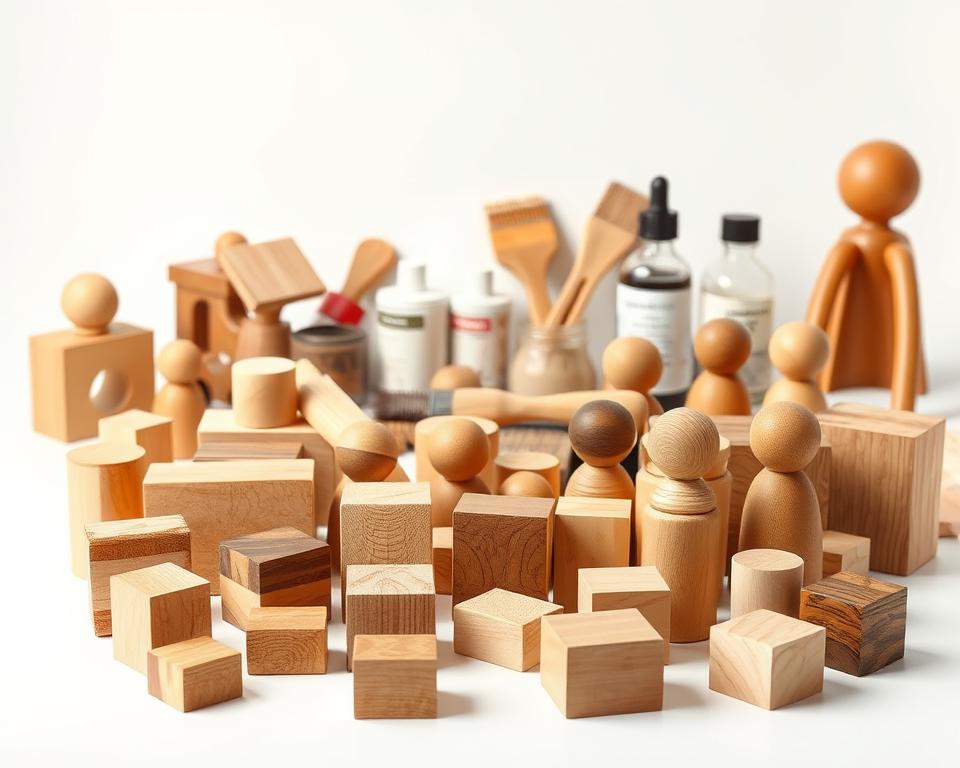
Wooden toys hold memories—each scratch and dent tells a story. But without proper care, water and humidity can warp, stain, or even cause mold on these cherished items. No one wants their child’s favorite train set or dollhouse ruined by preventable damage.
Whether it’s spilled juice or rainy-day playtime, moisture is a sneaky enemy. The good news? Simple steps can keep toys safe for years. From natural oils to smart storage, you’ll learn how to preserve their charm and durability.
Key Takeaways
- Wooden toys are vulnerable to warping and discoloration from spills or humidity.
- Quick cleanup prevents long-term damage.
- Natural finishes like beeswax add a protective layer.
- Store toys in dry areas away from dampness.
- Regular checks help catch early signs of wear.
Why Moisture Protection Matters for Wooden Toys
A little water might seem harmless, but it’s a big threat to wooden playthings. Unlike plastic, wood acts like a sponge—soaking up liquids deep into its grain. Over time, this leads to swelling, warping, or even cracks.
How Moisture Damages Wood Over Time
Capillary action pulls moisture inward, much like a paper towel dipped in water. Even small spills can seep deep, weakening the structure. Left unchecked, surface dampness turns into internal rot.
Take Sarah’s rocking horse: stored in a damp basement, it warped within months. Protected toys, though, last decades with proper care.
The Risks of Warping, Mold, and Discoloration
High humidity (above 12% moisture content) invites mold, which stains wood and poses health risks for kids. Warped toys lose their shape, while untreated ones fade or darken unevenly.
Key differences: A sealed toy resists spills, while bare wood absorbs them. Regular checks catch early signs like musty smells or sticky surfaces.
Best Methods for Protecting Wood from Moisture
Not all finishes work the same—some soak in, others shield. Whether you prefer earthy natural oils or tough synthetics, each option fights moisture differently. The right choice depends on your toy’s use, look, and how often you’re willing to reapply.

Natural Oils: Linseed and Tung Oil
Oils like linseed and tung oil sink deep into the grain, reinforcing from within. Think of them as a drink for thirsty wood—they nourish while repelling spills. Tung oil dries harder, making it ideal for blocks or puzzles handled daily.
One jar of tung oil covers 20+ blocks, a budget-friendly win. Note: Linseed takes longer to dry but adds a warm glow. Reapply every 6 months for constant protection.
Synthetic Sealants: Polyurethane and Varnish
For a surface armor, polyurethane creates a plastic-like barrier. It’s the “moisture forcefield” of finishes, shrugging off juice spills. Water-based versions resist yellowing, perfect for light-colored toys.
Varnish offers similar defense but needs ventilation during application—toxic fumes can linger. Upside? These finishes last up to 3 years before recoating.
Stain-Sealer Combos for Dual Protection
Want color and defense? Stain sealer blends do both. Brands like Osmo UV Protection Oil add UV resistance, great for outdoor playhouses. They’re pricier but save time with all-in-one application.
Tip: Test combos on scrap wood first. Some darken grain more than expected.
Choosing the Right Finish for Your Toys
Picking the perfect finish for toys isn’t just about looks—it’s about safety and durability. The best products shield against spills while being gentle enough for tiny hands (and mouths). Consider how the toy will be used, where it’s stored, and how often you’re willing to reapply.
Kid-Safe, Non-Toxic Options
Look for labels like ASTM D-4236, which certifies child-safe non-toxic formulas. Water-based polyurethane is a top choice—it dries hard without harmful fumes. Brands like ECOS Wood Finish use plant-based ingredients, ideal for chewable blocks or teething toys.
Avoid oil-based finishes for young kids. They often contain volatile organic compounds (VOCs) that linger in the air.
Indoor vs. Outdoor Toy Considerations
For exterior toys like playsets, prioritize UV-resistant products. Sunlight fades colors and cracks grain over time. Spar varnish or marine-grade sealants withstand rain and snow.
Indoor toys need less heavy-duty protection. A simple beeswax finish repels juice spills while enhancing the wood’s natural warmth.
Matte vs. Glossy Finishes
Matte hides scratches better, perfect for busy playrooms. Glossy finishes shine but can feel plasticky—some kids dislike the texture. Semi-gloss strikes a balance, offering subtle sheen with easy cleanup.
Pro tip: Test samples on scrap wood. Matte may darken the grain more than expected.
Step-by-Step Guide to Applying Wood Sealant
A smooth finish starts with the right prep work. Whether you’re using oil or polyurethane, the process determines durability. Follow these steps to shield toys effectively—without sticky mishaps.
Prepping the Wood Surface
Begin with a clean, dry surface. Sand the toy lightly with 220-grit sandpaper to remove rough spots. Wipe away dust with a microfiber cloth—it traps particles better than paper towels.
For older toys, strip old finishes first. A vinegar-water mix cleans grime without damaging the surface. Let it dry completely before sealing.
Brushing vs. Wiping Techniques
Oils like tung oil work best when wiped on. Use a lint-free rag to spread thin layers. For polyurethane, a foam brush avoids streaks. Try the crosshatch method: brush front-to-back, then side-to-side for even application.
Pro tip: Work in a well-ventilated area. Even “safe” products need airflow.
Drying Times and Recoat Tips
Drying time varies. Oils set in 15 minutes; polyurethane takes 4 hours. Use a hair dryer on the cool setting to speed things up—just don’t overheat the surface.
Apply a second coat only when the first feels dry. Sticky spots? Lightly sand and reapply. Store toys flat to avoid drips.
- Tool checklist: Microfiber cloths, sandpaper, foam brushes.
- Temperature hacks: Avoid sealing in high humidity.
- Safety first: Open windows and wear gloves.
Essential Tools and Materials You’ll Need
The right tools make all the difference when sealing toys. Whether you’re a DIY enthusiast or a first-timer, having the correct gear ensures a smooth project. From brushes to safety equipment, here’s what to gather before starting.
Brushes, Rags, and Sandpaper
Synthetic brushes work best for oil-based products, while foam brushes prevent streaks in polyurethane. Keep a stack of lint-free rags—old t-shirts are perfect for wiping oils. For surfaces, 220-grit sandpaper removes rough spots without scratching.
Pro tip: Label brushes by finish type to avoid mix-ups. A $5 chip brush suits occasional use, but a $20 Purdy model offers better quality for frequent projects.
Ventilation and Safety Gear
Always work in a well-ventilated area. A NIOSH-approved respirator, like the 3M 6500 series, filters harmful fumes. Nitrile gloves protect hands, especially when using chemical-based sealants.
For small spaces, a box fan near a window boosts airflow. Never skip safety—even “non-toxic” products can irritate lungs over time.
Budget-Friendly vs. Premium Products
Budget picks like amber glass bottles (for storing tung oil) cost less but work well. Eco-conscious options, like bamboo-handle brushes, balance quality and sustainability.
Premium products, such as Purdy brushes, last longer and apply finishes evenly. Choose based on your project scale—a one-time job may not need top-tier tools.
- Must-haves: Microfiber cloths, sandpaper, respirator.
- Eco-pick: XYZ EcoTools’ bamboo brushes.
- Storage hack: Keep oils in dark bottles to prevent degradation.
Long-Term Care for Moisture-Resistant Toys
A well-maintained toy collection stays beautiful for years with simple care. Even the best sealants need occasional attention to guard against wear and humidity. Follow these steps to keep playthings safe and sturdy.

Cleaning Without Compromising the Finish
Use a gentle mix of 1 tsp castile soap and 1 cup water. Dampen a microfiber cloth—never soak the toy. Wipe along the grain to avoid streaks, then dry immediately.
Avoid harsh cleaners. They strip protective layers, leaving toys vulnerable to exposure. For stubborn grime, lightly sand the area and reapply sealant.
When to Reapply Sealants
Check sealant integrity every 6 months. Look for whitish spots or rough patches—these signal it’s time for a refresh. Outdoor wood toys may need recoating every year due to harsh conditions.
Mark your calendar with seasonal reminders. Spring and fall are ideal for maintenance.
Storage Tips to Minimize Humidity Exposure
Keep toys in spaces with under 60% relative humidity. A $10 hygrometer helps monitor levels. Avoid basements or attics—they trap damp air.
For long-term storage, wrap toys in breathable cotton cloths. Silica gel packets absorb excess moisture in bins. Rotate stored items every few months to prevent warping.
- Pro tip: Vintage toys thrive in climate-controlled rooms.
- Eco hack: Cedar blocks repel pests naturally.
Common Mistakes to Avoid
Even the best intentions can backfire when sealing toys—here’s how to avoid costly errors. Skipping steps or rushing the process often leads to damage that’s hard to fix. Learn from these frequent flubs to keep playthings safe.
Skipping Surface Preparation
Jenny learned this the hard way with her heirloom cradle. She applied beeswax over dust and fingerprints, trapping grime underneath. Within months, white spots appeared where moisture seeped through.
Always start with a clean, dry surface. Sand lightly with 220-grit paper, then wipe with a tack cloth. This ensures the product bonds properly without bubbles or peeling.
Applying Finishes in Poor Weather
Humidity above 60% or temps below 55°F ruin drying time. Check AccuWeather’s RealFeel® before starting—it accounts for local humidity. Ideal conditions? 70°F with 40-50% humidity.
In a pinch, use a dehumidifier. One dad saved his project by running it for 30 minutes pre-application. The difference? A smooth finish versus sticky streaks.
Overloading With Product
More isn’t better. Thick coats drip, sag, and take forever to dry. Instead, use the “wipe-on, wipe-off” method:
- Apply thin layers with a foam brush
- Wait 2 minutes, then buff off excess
- Repeat for even coverage without buildup
Fix drips fast with a lint-free rag. For cured runs, sand lightly and recoat.
Myth busted: Three thin layers protect better than one gloppy coat. Test on scrap wood to gauge coverage before tackling toys.
Conclusion: Keep Wooden Toys Beautiful for Years
A well-loved toy deserves care that lasts generations. Imagine passing down Grandpa’s train set—still durable and crack-free—to wide-eyed grandkids. Start small this weekend: pick one treasured toy and apply beeswax or polyurethane. These simple steps add years to its life.
For extra savvy, jot the treatment date on the toy’s underside. Future you (or a little one) will thank you for the note. With consistent care, today’s playthings could become tomorrow’s family heirlooms.
Pro tip: Grab our free maintenance checklist to track resealing dates and storage conditions. A little effort now keeps wood toys vibrant through decades of play—and memories.
FAQ
Why is moisture protection important for wooden toys?
Moisture can cause warping, mold growth, and discoloration over time, ruining the look and durability of the toy.
What are the best natural oils for sealing wood?
Linseed and tung oil are great choices—they penetrate deep, enhance grain, and provide water resistance without harsh chemicals.
Are synthetic sealants like polyurethane safe for kids’ toys?
Once fully cured, polyurethane is safe. Opt for water-based versions, which have fewer fumes and dry faster.
How do I choose between matte and glossy finishes?
Matte hides scratches better, while glossy adds shine and makes colors pop. Consider the toy’s use and visual appeal.
What’s the best way to prep wood before sealing?
Sand the surface smoothly, remove dust, and ensure it’s dry. Proper prep helps the finish adhere evenly.
How often should I reapply sealant on outdoor toys?
Every 1-2 years, depending on weather exposure. Check for fading or wear—reapply when water no longer beads on the surface.
Can I use a stain and sealer combo for extra protection?
Yes! These products add color while sealing, saving time and offering dual defense against moisture and UV rays.
What’s a common mistake when applying finishes?
Skipping sanding or applying too thickly. Thin, even coats dry better and prevent sticky, uneven results.
How should I store wooden toys to avoid humidity damage?
Keep them in a dry, ventilated area—avoid basements or attics. Silica gel packs can help absorb excess moisture.
