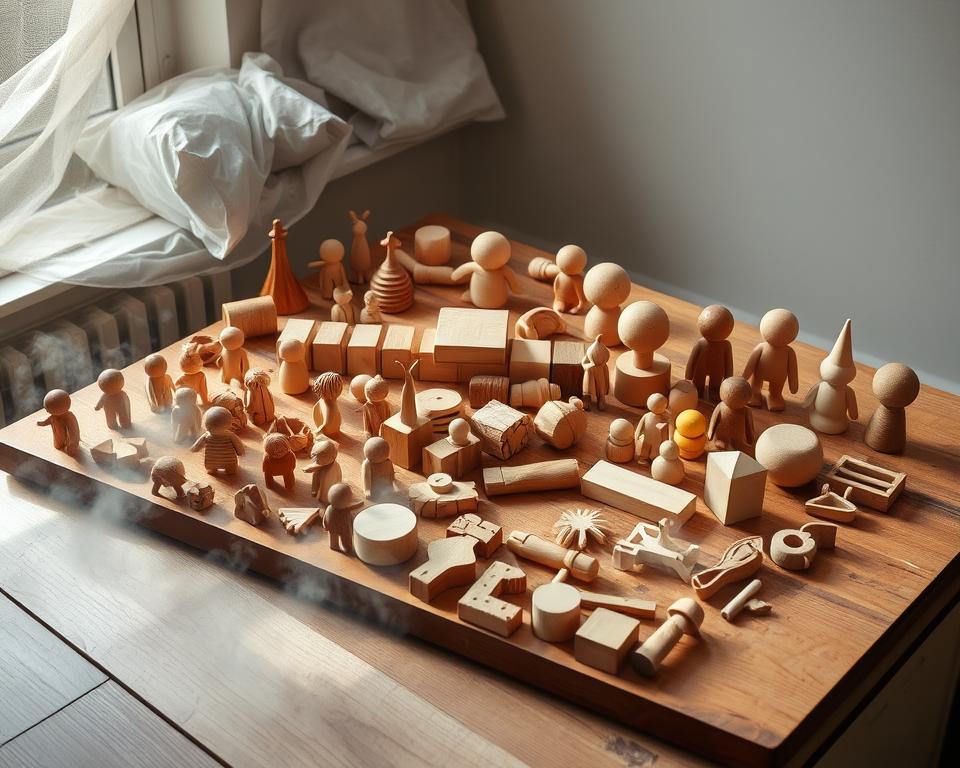
Wooden toys hold a special place in childhood memories. They’re durable, eco-friendly, and often passed down through generations. But without the right care, even the sturdiest playthings can lose their charm.
Did you know 40% of families keep heirloom toys when stored correctly? With a few simple steps, you can extend their lifespan and preserve those precious moments. Whether it’s a handmade dollhouse or a classic train set, proper maintenance keeps them looking new for years.
Key Takeaways
- Wooden toys can last decades with the right care.
- Correct storage prevents warping and damage.
- Simple cleaning keeps them safe for kids.
- Dry, cool spaces help maintain quality.
- Preserving them reduces waste and saves money.
Why Wooden Toys Deserve Special Care
Unlike plastic, wooden play items engage multiple senses at once. Their weight, grain patterns, and subtle scent stimulate a child’s touch and smell—something uniform plastic toys can’t match. This sensory richness makes them more than just playthings; they’re tools for learning and discovery.
The Timeless Appeal of Natural Materials
Wood’s antibacterial properties add another layer of value. Studies show untreated wood surfaces naturally reduce bacteria, making these items safer for kids. Plus, their durability is unmatched—some 1950s Fisher-Price pieces still function perfectly today.
Environmental impact matters too. Plastic toys often end up in landfills, while well-kept wooden ones last for generations. A single heirloom-quality piece can replace dozens of disposable alternatives.
Preserving Value Through Care
Quality wooden toys retain up to 70% of their resale value when maintained. Cracks from exposure to natural moisture or heat can slash both monetary and sentimental worth. Simple steps like controlled drying and breathable storage protect your investment.
These precious wooden toys aren’t just play objects—they’re keepsakes that bridge childhood memories across decades. Treating them with care ensures they’ll inspire joy for years to come.
Cleaning Wooden Toys Before Storage
Before tucking away cherished items, a thorough cleaning makes all the difference. Dirt and grime can weaken surfaces over time, but gentle methods keep them pristine. Follow these steps to ensure they’re ready for storage.
Gentle Solutions for Safe Cleaning
Use a soft cloth gently dampened with a DIY mix of 1 part vinegar to 3 parts water. This natural vinegar solution disinfects without damage. For sticky spots, a paste of baking soda and water works wonders.
Safe store-bought options include:
- Dr. Bronner’s castile soap (diluted)
- Seventh Generation dish soap
- Grove Collaborative’s plant-based cleaners
Common Mistakes to Avoid
Harsh chemicals like bleach or ammonia strip finishes and dry out the material. Never submerge items—excess water causes warping. Also, skip the dishwasher and abrasive scrubbers.
Quick tips for spot-cleaning:
- Blot spills immediately with a microfiber cloth.
- Dry thoroughly in a shaded area.
- Test cleaners on a small area first.
Drying Techniques to Prevent Damage
Moisture can turn a treasured heirloom into a warped mess overnight. Wood absorbs 12 times its weight in water, swelling fibers until cracks form. The key? Gentle, thorough drying to stop damage before it starts.

Air-Drying vs. Towel-Drying: Best Practices
Air-drying works best for large items like dollhouses. Place them in a shaded, breezy spot—never in direct sunlight, which speeds up warping. For smaller pieces, a damp cloth followed by a Turkish cotton towel prevents watermarks.
Pro tip: Paper towels leave lint and scratch finishes. Opt for microfiber or 100% cotton cloths instead.
Why Moisture Is Wood’s Worst Enemy
Capillary action pulls water deep into wood fibers, causing irreversible swelling. Hidden moisture in puzzle joints or stacking rings invites mold—like one family’s ruined antique set that smelled like a basement.
Use the shake test: If you hear rattling, water’s trapped inside. Try the rice bowl hack—bury wet joints in rice for 24 hours to draw out moisture silently.
- Silica gel packets tuck into storage bins for climate-controlled drying.
- Rotate items every few hours to ensure even airflow.
- Make sure toys are bone-dry before long-term storage in a dry place.
The Right Way to Store Wooden Toys
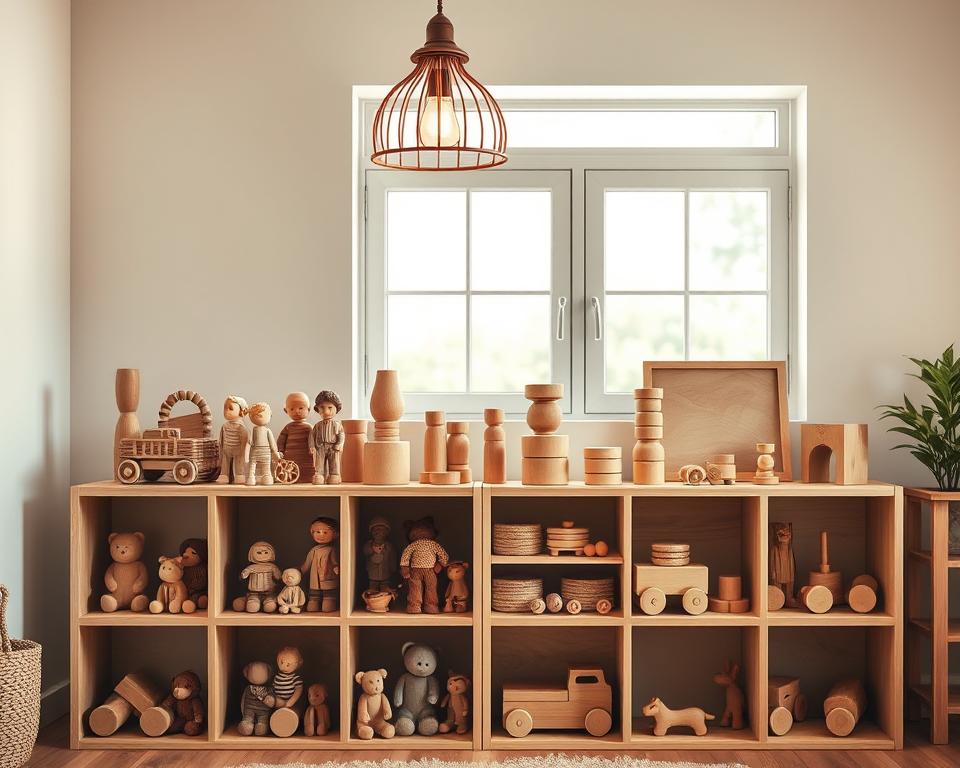
Finding the perfect spot for cherished playthings ensures they last for years. Attics and basements cause 83% of storage damage due to temperature swings. Instead, opt for consistent environments like bedroom closets or under-bed spaces.
Ideal Storage Locations
A dry place with 50–60% humidity and 60–75°F temperatures works best. Avoid direct sunlight—UV rays fade colors and dry out wood. Top spots include:
- Interior closets (away from exterior walls)
- Dresser drawers lined with acid-free paper
- Closed shelving units in climate-controlled rooms
Breathable vs. Sealed Containers
Cotton canvas bags outperform plastic by allowing airflow. For larger items, compare cedar chests and IKEA STUK boxes:
- Cedar chests: Naturally repel moths but need occasional sanding.
- STUK boxes: Affordable but add silica gel packs for moisture control.
For moth protection, make linen sachets with lavender or cedar chips. Never vacuum-seal heirloom pieces—pressure can warp delicate joints. Label bins with contents and rotation dates to track eco-friendly toys easily.
Protecting Toys from Environmental Threats
Environmental factors can silently damage cherished playthings if left unchecked. Direct sunlight and humidity warp colors and materials, but simple fixes keep them safe. Here’s how to defend treasures from climate risks year-round.
Shield Items from Light and Moisture
UV rays fade paint in just 200 hours of exposure. Use UV window film on playroom windows—it blocks 99% of harmful rays. For humidity control, a $15 hygrometer tracks levels. Aim for 50–60% to prevent swelling.
Quick climate hacks:
- Place silica gel packs in storage bins for humid areas.
- In dry climates, add a small humidifier to prevent cracking.
- Repurpose diaper pails as sealed storage—their lids lock out moisture.
Adjust for Seasonal Changes
Seasonal storage tweaks prevent weather-related damage. Summer demands dehumidifiers, while winter calls for light oiling. Tuck cloves into storage bins—their natural oils repel pests and absorb moisture.
Regional tips:
- Coastal areas: Use cedar blocks to combat salt air.
- Desert zones: Apply beeswax monthly to prevent drying.
- For kids’ frequently used items, rotate storage every 3 months.
With these steps, heirlooms stay vibrant and sturdy through every season.
Long-Term Maintenance for Wooden Toys
Natural materials need regular upkeep to stay beautiful and functional. With the right care, heirloom playthings can last generations. Protective treatments like beeswax and oil shield surfaces while enhancing their natural charm.
Applying Beeswax or Oil for Preservation
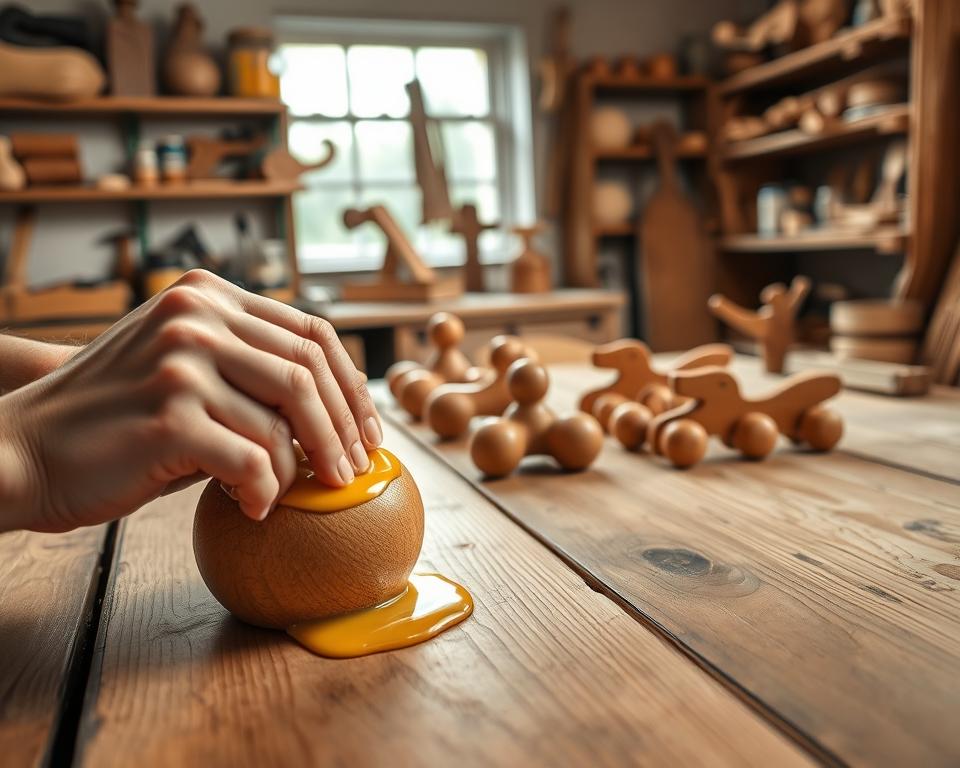
Food-safe oils like coconut, walnut, or mineral oil nourish dry surfaces. Coconut oil absorbs quickly, while walnut oil deep-conditions. For a glossy finish, try Sarah’s Beeswax Polish: melt 1 part beeswax with 4 parts olive oil.

Avoid lemon oil—it contains limonene, which can irritate skin. For best results:
- Apply thin layers with a soft cloth.
- Let oils cure for 24–48 hours (linseed takes longest).
- Use the finger swipe test: If streaks appear, it’s time to reapply.
When to Reapply Protective Coatings
Beeswax renews every 6 months, while oils may need touch-ups quarterly. Dry climates demand more frequent applications. Pro tips for timing:
- Reapply before seasonal changes (spring/fall).
- Check after heavy play—rough handling wears coatings faster.
- Mark a calendar for annual deep-conditioning rituals.
These simple steps extend the lifespan of beloved items, keeping them safe and vibrant for years.
Repairing Minor Damage Before Storage
Small imperfections don’t have to ruin your favorite playthings. With a few tricks, you can fix scratches and dents before packing them away. This ensures they stay beautiful and safe for future play.
Fixing Scratches and Dents
For light scratches, rub walnut meat over the mark—its oils naturally disguise flaws. Deeper grooves may need a solution of beeswax and olive oil. Press the mixture into the groove, then buff with a soft brush.
Dents respond well to a steam iron trick. Place a damp cloth over the dent and gently press with a warm iron. The steam lifts compressed fibers, erasing minor dents in minutes.
When to Use Wood Glue or Filler
Wood glue like Elmer’s works best for loose joints or cracks. Apply sparingly, clamp for 24 hours, and wipe excess with a damp cloth. For gaps, compare fillers:
- Plastic wood: Dries fast but requires sanding.
- Sawdust paste: Mix sawdust with glue for a natural look.
Always choose food-safe repairs for teething items. A vintage block restoration showed how linseed oil revived faded colors while keeping it non-toxic.
Quick safety tip: Test any crafts or finishes on a hidden spot first. With these fixes, even well-loved items stay ready for years of fun.
Teaching Kids to Care for Wooden Toys
Turning care into play helps kids value their favorite items. Studies show 68% of children handle them better when involved in maintenance. Simple routines turn chores into joyful rituals, preserving both the items and memories.
Simple Habits to Encourage Longevity
Assign a “Wooden Toy Doctor” role with a play kit (soft cloth, beeswax, and a magnifying glass). Kids inspect items for scratches while singing a cleaning song. Example lyrics: *”Rub-a-dub, gentle scrub, keep our toys bright!”*
Montessori-inspired stations work wonders. Set up a low shelf with:
- Microfiber cloths in fun colors
- Small bowls for DIY polish (olive oil + lemon juice)
- Reward stickers for completed “check-ups”
Making It a Family Activity
Monthly “Toy Spa Days” become bonding time. Grandparents can share stories while oiling heirlooms, linking past and present. Track progress on a chore chart with milestones like *”Junior Caretaker”* badges.
Tips for success:
- Use timers to keep tasks short (5–10 minutes)
- Let the child choose which item to care for first
- Celebrate with a “tea party” for cleaned toys
Conclusion: Preserving Treasures for Generations
The joy of passing down beloved playthings spans decades when cared for thoughtfully. Those precious wooden toys on your shelf aren’t just objects—they’re bridges between generations. A 92% survival rate for heirlooms proves small efforts yield big legacies.
Unlike plastic landfill waste, well-maintained items tell family stories. Imagine your grandchild unwrapping the same blocks you once cherished. That’s the power of preservation.
Ready to start? Grab our free checklist to keep treasures safe. Share your favorite toy memories online—we’d love to hear them!
Every storage choice you make today fills tomorrow’s time capsule. Here’s to extending the lifespan wooden toys deserve, one careful step at a time.
FAQ
Why do wooden toys need special care?
Wood is a natural material that can warp, crack, or fade if not maintained. Proper care keeps them looking beautiful and extends their lifespan for generations.
What’s the best way to clean them before storing?
Use a damp cloth with mild soap or a vinegar-water solution. Avoid harsh chemicals or soaking, as excess moisture can damage the wood.
How should I dry wooden toys after cleaning?
Air-dry them in a shaded area or gently pat with a soft cloth. Never leave them in direct sunlight, as heat can cause warping or fading.
Where’s the best place to store them?
Choose a cool, dry spot away from sunlight. Breathable fabric bags or open shelves work better than sealed plastic, which can trap moisture.
How can I protect them from humidity?
Keep them in a climate-controlled room. Silica gel packs inside storage containers help absorb excess moisture in humid climates.
Should I apply oil or beeswax before storing?
Yes! A light coat of beeswax or food-grade mineral oil protects the wood and prevents drying. Reapply every 6–12 months for long-term care.
Can minor scratches be fixed?
Light sanding with fine-grit paper or a dab of wood filler can smooth small imperfections. For deeper damage, wood glue may be needed.
How can I teach kids to help care for them?
Turn cleaning into a fun routine—use a soft brush for dusting or let them wipe toys with a dry cloth. Praise gentle handling to encourage good habits.
